
- Training
- Service
- Promotion
- Schedule
- Testing Center
- News
- Contact


How to register and take AWS exam at Home
Due to COVID-19, many testing centers have been closed but luckily, Pearsonvue has offered a way to take an exam at Home. The article below shows you step by step register and take an AWS exam at Home.
Part 1 – Schedule exam
Step 1: Go to https://home.pearsonvue.com/

Step 2: Select your exam branch

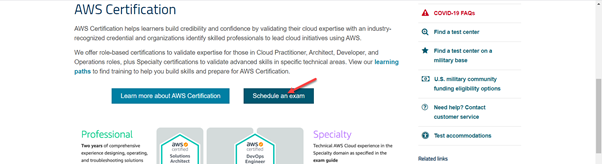
Step 3: Click Schedule an exams
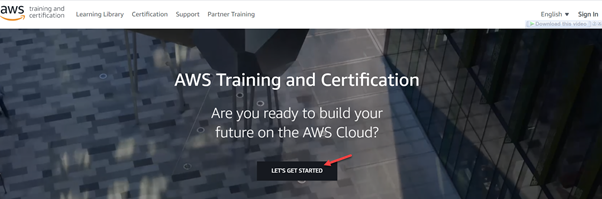
Step 4: Click LET’s GET STARTED
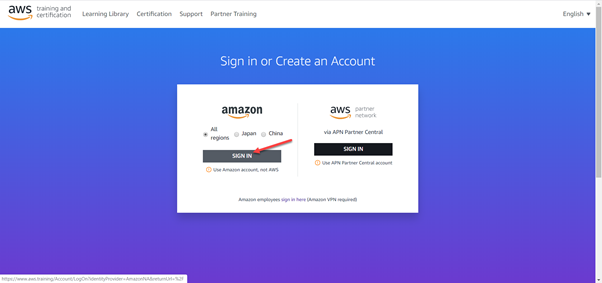
Step 5. Sign In
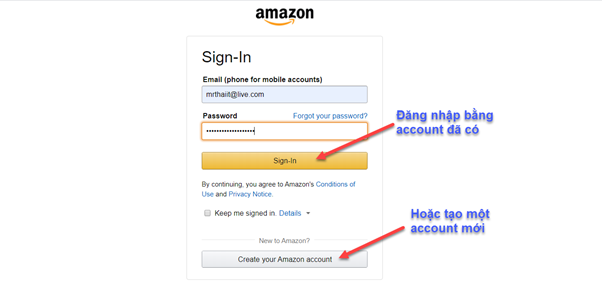
Step 6. Get AWS Certified
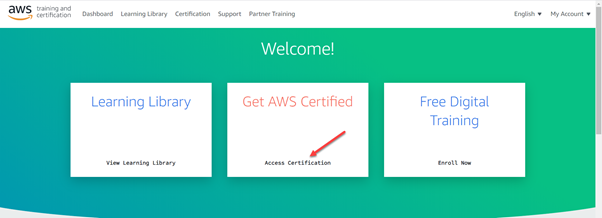
Step 7. Go to Your Account
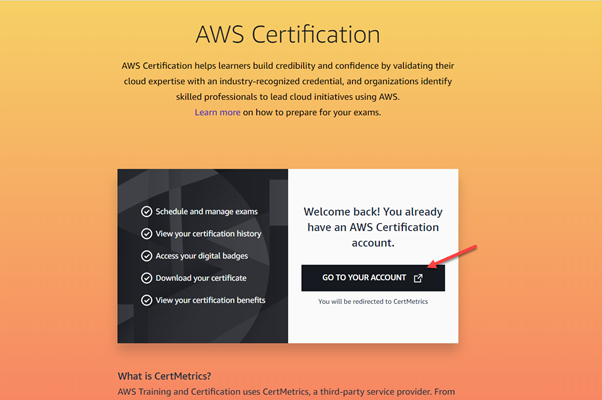
Step 8. Schedule New Exam

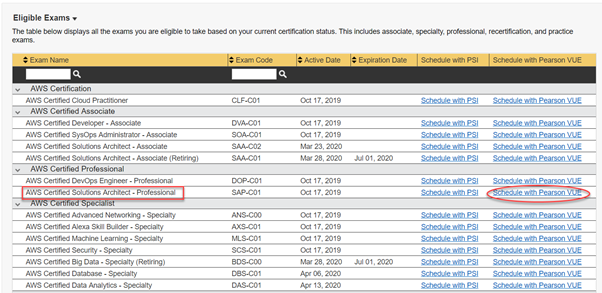
Step 9. Select your exam and click Schedule Pearson VUE
Step 10. Select “At my home or office” > Run pre-check
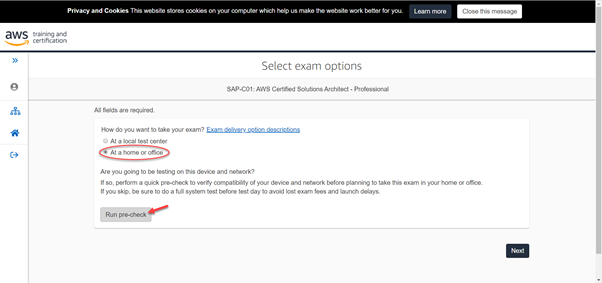
Step 11. Run pre-check for Microphone, Webcam and Internet speed
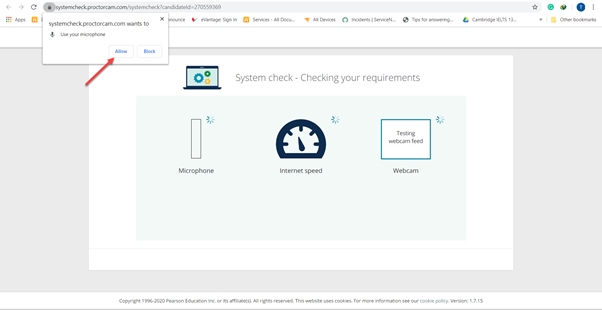
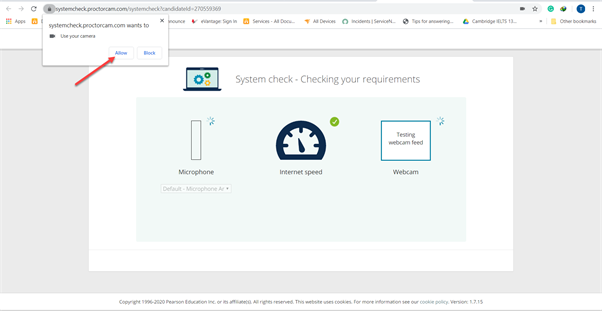
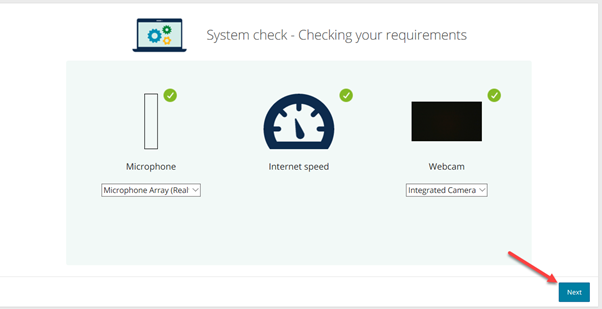
System check – Successfully completed

Close this Tab and move to Step 12
Step 12. Next
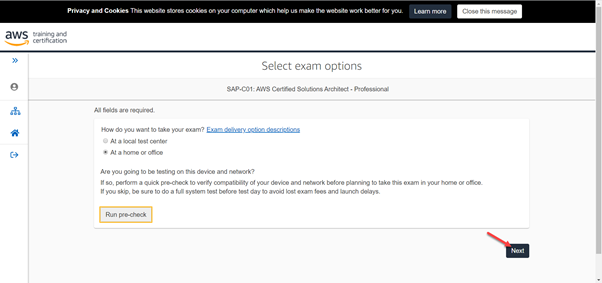
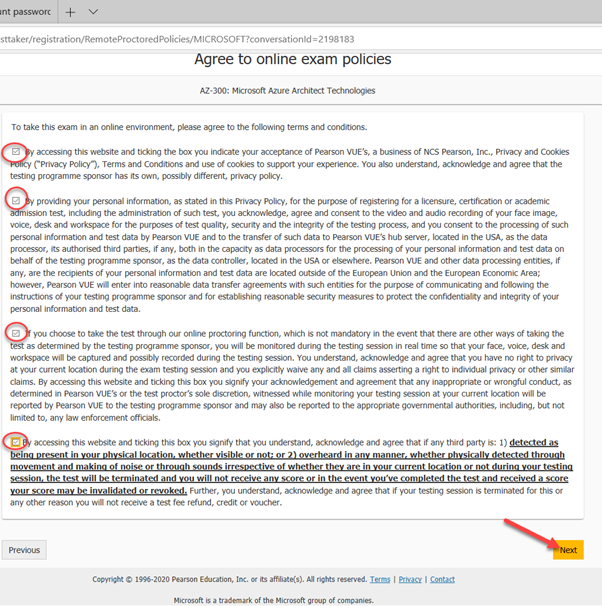
Step 13: Agree all terms and conditions > Next
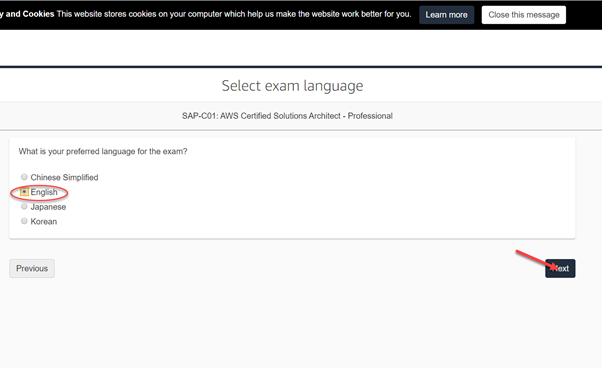
Step 14. Select exam language > Next
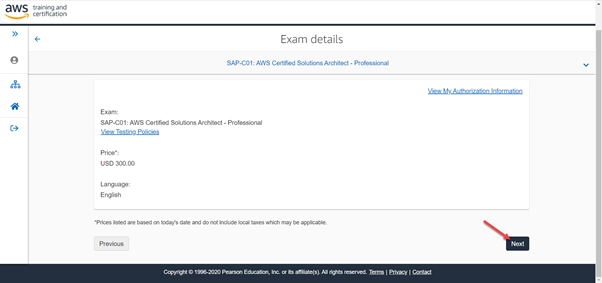
Step 15: Review Exam details
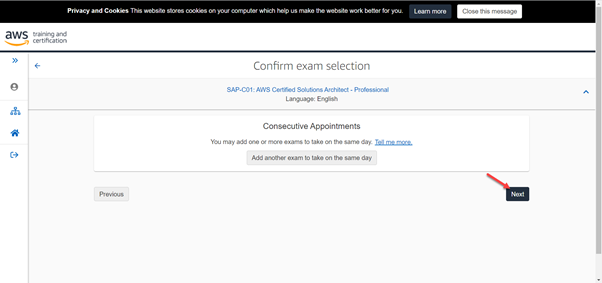
Step 16. Confirm exam selection > Next
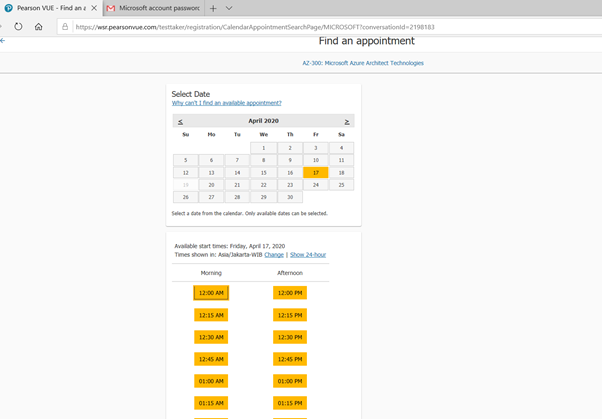
Step 17. Select Date and Time
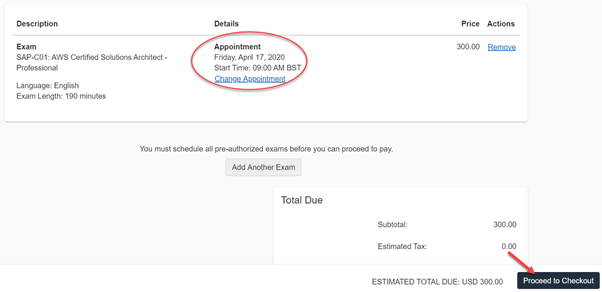
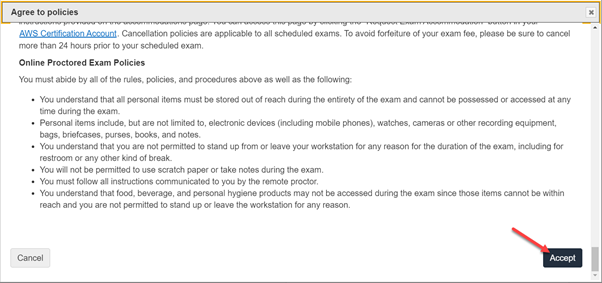
Step 18. Agree the policies > Accept
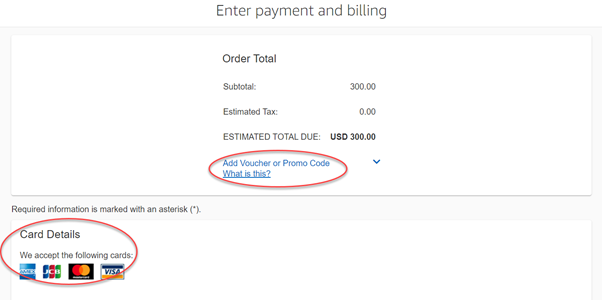
Step 19. Add voucher or Credit card
Step 20: Done. Now check your email and follow instruction
Part 2 – Begin exam
Step 1: Log in to link https://home.pearsonvue.com/aws/onvue > Begin exam

Step 2: Begin Exam
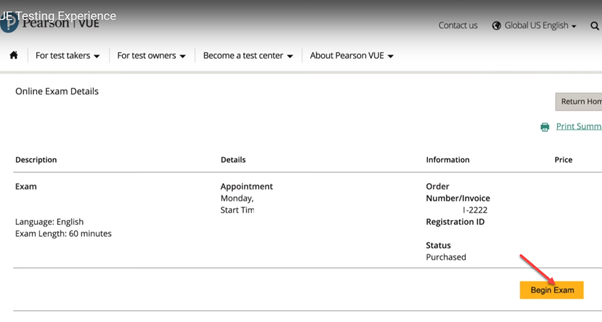
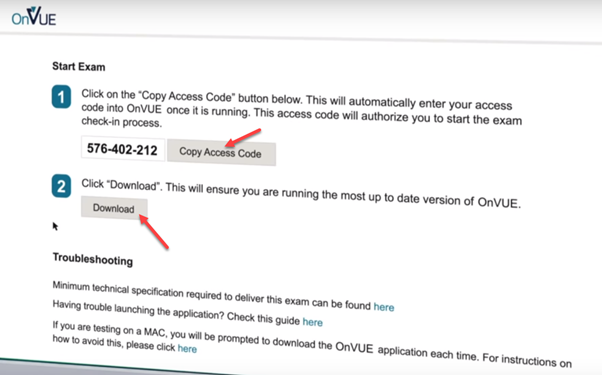
Step 3: Copy Access Code and Download and install software
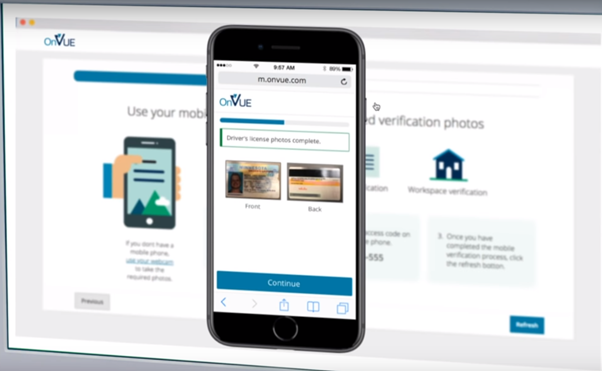
Step4: Follow Instructions to complete the identification
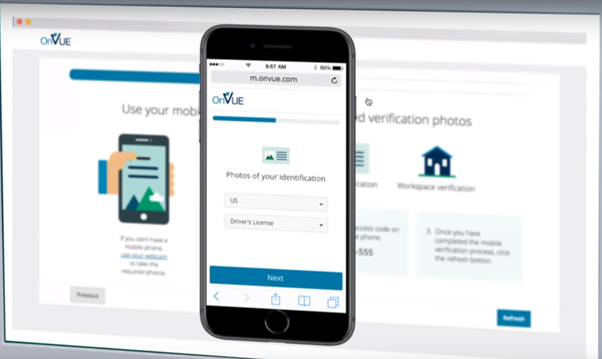
Take your identity card: Front and Back
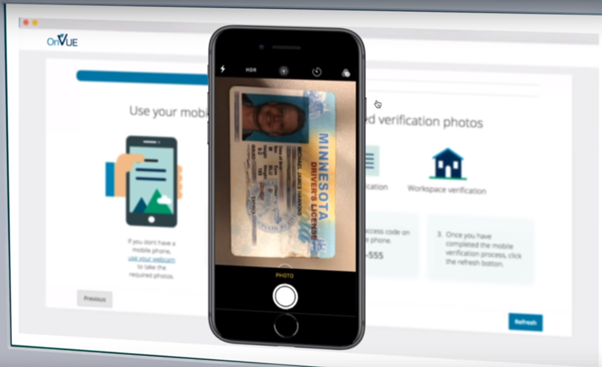
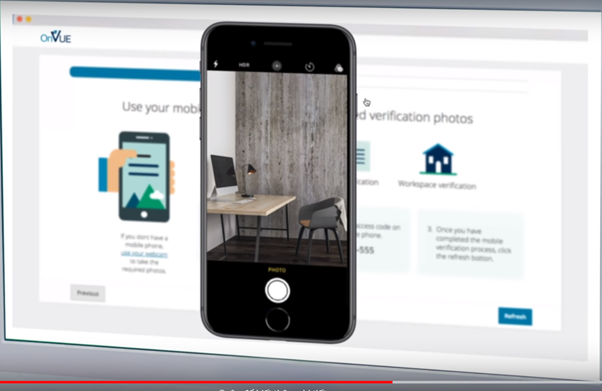
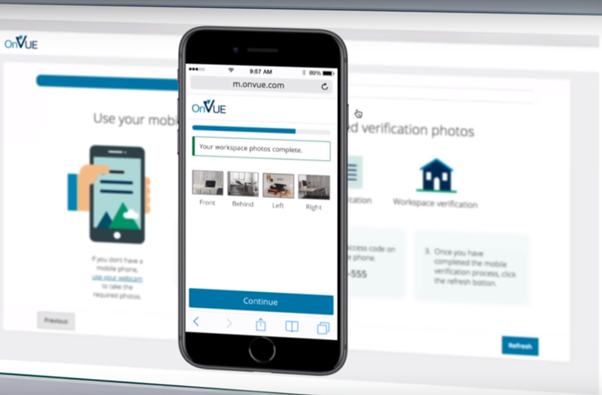
Take your Workspace: Front, Behind, Left and Right
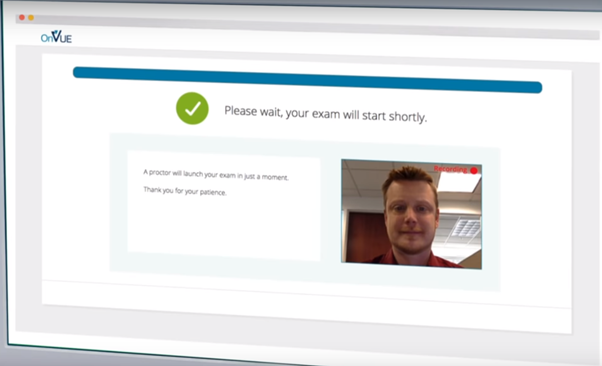
During the test, there will be a Chat/Whiteboard and Recording video.

Source: Technet.vn


